สรุปสั้น ๆ
สำหรับมือใหม่ อยากลองทำ Gallery แสดงภาพของตัวเองที่สามารถอัปโหลดรูปได้ไม่ใช่เรื่องยาก ทำยังไง ไปดู!!!

สำหรับมือใหม่ อยากลองทำ Gallery แสดงภาพของตัวเองที่สามารถอัปโหลดรูปได้ไม่ใช่เรื่องยาก ทำยังไง ไปดู!!!
 เขียนโดย
Sirasit Boonklang (Aeff)
Tech and Coding Consultant
บทความนี้ตีพิมพ์ และ เผยแพร่เมื่อ 12 เมษายน 2566
โดยเราสามารถใช้ Flask ที่เป็น Framework ตัวช่วยในการทำเว็บแบบง่าย ๆ สำหรับสาย Python และในการที่เราจะทำเว็บแอปพลิเคชันที่มีการอัปโหลดไฟล์ขึ้นมาได้ใน Flask จะมี Lib ในการช่วยจัดการในการอัปโหลดไฟล์มายังหน้าเว็บนั่นก็คือ Flask-Uploads
เราจะเริ่มทำ Flask Application ที่ให้ผู้ใช้สามารถอัปโหลดไฟล์ไปยังเซิร์ฟเวอร์และแสดงไฟล์ที่อัปโหลดบนหน้าเว็บได้ โดยเราจะมาเริ่มแบบง่าย ๆ
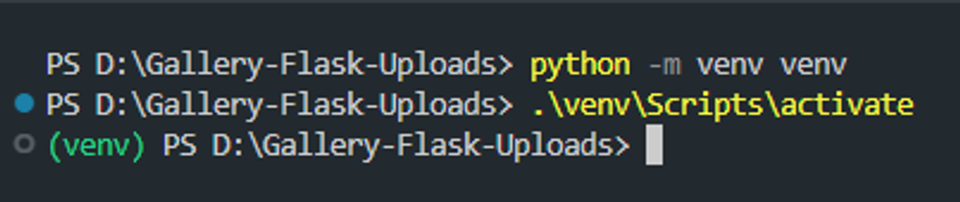
โดยเริ่มจากเปิดโปรเจกต์ขึ้นมา สร้าง Virtual Environments ด้วยคำสั่ง python -m venv venv แล้วทำการ Activate ด้วยคำสั่ง .\venv\Scripts\activate
ทำการติดตั้ง Flask-Uploads และ flask-wtf ด้วยคำสั่ง pip install Flask-Uploads flask-wtf
ทำการสร้างโฟลเดอร์ templates ที่มีไฟล์ index.html และ ไฟล์ app.py ไว้อยู่ในตำแหน่งเดียวกันกับโฟลเดอร์ templates (ห้ามอยู่ใน templates นะ) ตามโครงสร้างของแผนภาพด้านล่างได้เลยนะครับ
Gallery-Flask-Uploads/
├── app.py
└── templates/
└── index.html
เราเริ่มมาดูที่ไฟล์หลักนั่นคือ app.py กันก่อนครับ ส่วนแรกจะเป็นการเรียกใช้งาน Lib ที่เกี่ยวข้องดังนี้
app.py
from flask import Flask, render_template
from flask_wtf import FlaskForm
from wtforms import FileField, SubmitField
from werkzeug.utils import secure_filename
import os
from wtforms.validators import InputRequired
ส่วนที่ 2 ในไฟล์จะเป็นการกำหนดค่าต่าง ๆ และ สร้างคลาส FlaskFrom สำหรับการอัปโหลดไฟล์
app = Flask(__name__)
app.config['SECRET_KEY'] = '8OgSq5gCe7'
app.config['UPLOAD_FOLDER'] = 'static/files'

class UploadFileForm(FlaskForm):
    file = FileField("File", validators=[InputRequired()])
    submit = SubmitField("Upload File")
ส่วนต่อมาจะเป็นการกำหนดการ route ใน Flask app และการทำงานในฟังก์ชัน UploadFile2Web โดยโค้ดการทำงานส่วนสุดท้ายจะมีดังนี้
@app.route('/', methods=['GET', 'POST'])
def UploadFile2Web():
    form = UploadFileForm()
    if form.validate_on_submit():
        file = form.file.data
        file.save(os.path.join(app.config['UPLOAD_FOLDER'], secure_filename(file.filename)))

    image_files = os.listdir(app.config['UPLOAD_FOLDER'])
    return render_template('index.html', form=form, image_files=image_files)

if __name__ == '__main__':
app.run(debug=True)และตอนนี้เราก็ได้ทำการเขียนโค้ดส่วนของการทำงานการจัดการไฟล์ และ การอัปโหลดไฟล์ไปยัง Server ได้แล้วในไฟล์ app.py โดยโค้ดแบบเต็ม ๆ เราจะได้ในลักษณะนี้
app.py (Full Code)
from flask import Flask, render_template, url_for
from flask_wtf import FlaskForm
from wtforms import FileField, SubmitField
from werkzeug.utils import secure_filename
import os
from wtforms.validators import InputRequired

app = Flask(__name__)
app.config['SECRET_KEY'] = '8OgSq5gCe7'
app.config['UPLOAD_FOLDER'] = 'static/files'

class UploadFileForm(FlaskForm):
    file = FileField("File", validators=[InputRequired()])
    submit = SubmitField("Upload File")

@app.route('/', methods=['GET', 'POST'])
def UploadFile2Web ():
    form = UploadFileForm()
    if form.validate_on_submit():
        file = form.file.data
        file.save(os.path.join(app.config['UPLOAD_FOLDER'], secure_filename(file.filename)))

    image_files = os.listdir(app.config['UPLOAD_FOLDER'])
    return render_template('index.html', form=form, image_files=image_files)

if __name__ == '__main__':
    app.run(debug=True)
ต่อมาเราก็มาสร้างหน้าเว็บโดยไปที่ไฟล์ index.html ในโฟลเดอร์ templates โดยโค้ดเริ่มต้นของไฟล์ HTML จะเป็นแบบนี้
<!DOCTYPE html>
<html lang="en">
<head>
    <meta charset="UTF-8">
    <meta name="viewport" content="width=device-width, initial-scale=1.0">
    <title>Image Gallery</title>
</head>
<body>
  <h1>Upload Image</h1>
<form method='POST' enctype='multipart/form-data'>
        {{form.hidden_tag()}}
        {{form.file()}}
        {{form.submit()}}
</form>

<p>Total images: {{ image_files|length }}</p>
<div class="gallery">
    {% for image in image_files %}
        <img src="{{ url_for('static', filename='files/' + image) }}" alt="{{ image }}" onclick="openModal('{{ url_for('static', filename='files/' + image) }}')">
    {% endfor %}
</div>
</body>
</html>
โดยผมขอข้าม HTML เบื้องต้นไปแต่จะมาโฟกัสในส่วนที่รับค่าและทำงานร่วมกับ Flask นะครับโดยส่วนหลัก ๆ จะอยู่ภายในแท็ก Body
<h1>Upload Image</h1>
<form method='POST' enctype='multipart/form-data'>
        {{form.hidden_tag()}}
        {{form.file()}}
        {{form.submit()}}
</form>
ส่วนต่อมาจะเป็นส่วนในการแสดงจำนวนและรูปทั้งหมดที่มีอยู่ในระบบ
<p>Total images: {{ image_files|length }}</p>
<div class="gallery">
{% for image in image_files %}
<img src="{{ url_for('static', filename='files/' + image) }}" alt="{{ image }}" onclick="openModal('{{ url_for('static', filename='files/' + image) }}')">
{% endfor %}
</div>
<p>Total images: {{ image_files|length }}</p>
<div class="gallery">
{% for image in image_files %}
<img src="{{ url_for('static', filename='files/' + image) }}" alt="{{ image }}" onclick="openModal('{{ url_for('static', filename='files/' + image) }}')">
{% endfor %}
</div>
<div id="myModal" class="modal"> <span class="close" onclick="closeModal()">×</span> <img class="modal-content" id="img01"> </div><script> var modal = document.getElementById("myModal"); var modalImg = document.getElementById("img01"); function openModal(imgSrc) { modal.style.display = "block"; modalImg.src = imgSrc; } function closeModal() { modal.style.display = "none"; } </script>
<div id="myModal" class="modal"> <span class="close" onclick="closeModal()">×</span> <img class="modal-content" id="img01"> </div><script> var modal = document.getElementById("myModal"); var modalImg = document.getElementById("img01"); function openModal(imgSrc) { modal.style.display = "block"; modalImg.src = imgSrc; } function closeModal() { modal.style.display = "none"; } </script>
ตอนนี้หน้า Gallery แบบง่าย ๆ ไว ๆ ก็เสร็จไปแล้วโดยโค้ดในส่วนไฟล์ index.html แบบเต็ม ๆ จะเป็นดังนี้
<!DOCTYPE html>
<html lang="en">
<head>
<meta charset="UTF-8">
<meta http-equiv="X-UA-Compatible" content="IE=edge">
<meta name="viewport" content="width=device-width, initial-scale=1.0">
<link rel="stylesheet" href="{{ url_for('static', filename='css/style.css') }}">
<!-- <link rel="stylesheet" href="https://maxcdn.bootstrapcdn.com/bootstrap/3.3.7/css/bootstrap.min.css"> -->
<link rel="preconnect" href="https://fonts.googleapis.com">
<link rel="preconnect" href="https://fonts.gstatic.com" crossorigin>
<link href="https://fonts.googleapis.com/css2?family=Roboto:wght@300&display=swap" rel="stylesheet">
<title>Home</title>
</head>
<body>
<h1>Image Gallery</h1>
<form method='POST' enctype='multipart/form-data'>
{{form.hidden_tag()}}
{{form.file()}}
{{form.submit()}}
</form>
<p>Total images: {{ image_files|length }}</p>
<div class="gallery">
{% for image in image_files %}
<img src="{{ url_for('static', filename='files/' + image) }}" alt="{{ image }}" onclick="openModal('{{ url_for('static', filename='files/' + image) }}')">
{% endfor %}
</div>
<!-- The Modal -->
<div id="myModal" class="modal">
<span class="close" onclick="closeModal()">×</span>
<img class="modal-content" id="img01">
</div>
<script>
var modal = document.getElementById("myModal");
var modalImg = document.getElementById("img01");
function openModal(imgSrc) {
modal.style.display = "block";
modalImg.src = imgSrc;
}
function closeModal() {
modal.style.display = "none";
}
</script>
</body>
</html>
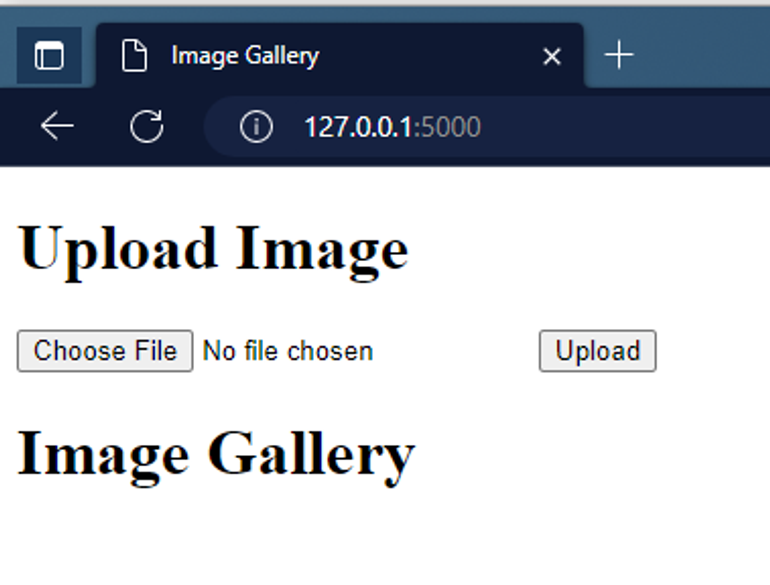
เมื่อทั้งโค้ดส่วน app.py และ index.html เสร็จแล้วเราสามารถรันโปรแกรมด้วยคำสั่ง flask runแล้วโปรแกรมจะทำงานที่ localhost:5000

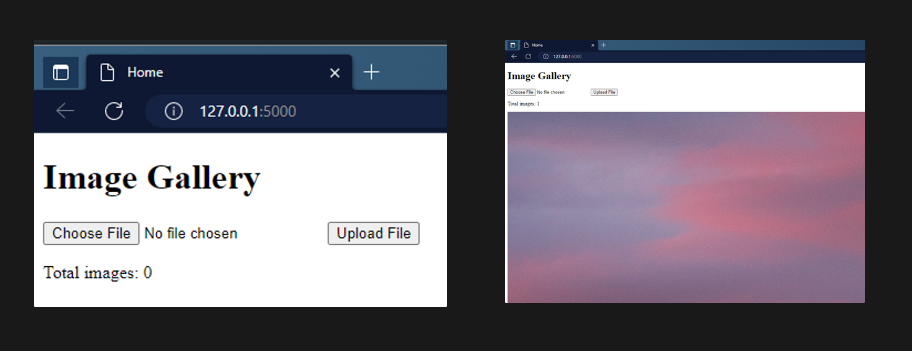
โอเคครับ ตอนนี้เราได้หน้าเว็บแบบไว ๆ ที่สามารถลองกดอัปโหลดไฟล์ขึ้นมาได้แล้วนะครับ แต่ปัญหาคือหน้าเว็บยังไม่สวย ภาพก็ใหญ่ 😅 เราเลยต้องใช้ CSS เข้ามาช่วย
สำหรับการเพิ่ม CSS เข้ามาในไฟล์ index.html ใน Flask เราจะใช้คำสั่ง <link rel=”stylesheet” href=”{{ url_for(‘static’, filename=’css/style.css’) }}”> ใส่ไว้ในแท็ก <head></head>
<head>
   <meta charset="UTF-8">
   <meta http-equiv="X-UA-Compatible" content="IE=edge">
   <meta name="viewport" content="width=device-width, initial-scale=1.0">
   <link rel="stylesheet" href="{{ url_for('static', filename='css/style.css') }}">
   <title>Image Gallery</title>
</head>
แล้วโค้ดของ CSS ของผมจะอยู่ที่ Path static/css/style.css
Gallery-Flask-Project/
├── app.py
├── static/
│ ├── css/
│ │ └── style.css
│ └── files/
└── templates/
└── index.html
โดยโค้ดในไฟล์ style.css ของผมมีดังนี้
/* Set default styles for the body */
body {
font-family: 'Roboto', sans-serif;
text-align: center;
background-color: #f0f0f0;
}
/* Create a gallery grid */
.gallery {
display: flex;
flex-wrap: wrap;
justify-content: center;
padding: 2px;
}
/* Style the gallery images */
.gallery img {
margin: 5px;
width: calc(25%);
height: auto;
box-shadow: 0 4px 6px rgba(0, 0, 0, 0.1);
border: 1px solid #f0f0f0;
border-radius: 10px;
transition: 0.3s;
}
/* On hover, increase the border size of the images */
.gallery img:hover {
border: 5px solid #777;
}
/* Create a modal to display full-sized images */
.modal {
display: none;
position: fixed;
z-index: 100;
left: 0;
top: 0;
width: 100%;
height: 100%;
overflow: auto;
background-color: rgba(0, 0, 0, 0.8);
display: flex;
justify-content: center;
align-items: center;
}
/* Style the full-sized image */
.modal-content {
margin: 0 auto;
display: block;
max-width: 100%;
max-height: 100%;
object-fit: contain;
}
/* Style the close button for the modal */
.close {
position: absolute;
top: 15px;
right: 35px;
color: #f1f1f1;
font-size: 40px;
font-weight: bold;
transition: 0.3s;
}
.close:hover, .close:focus {
color: #bbb;
text-decoration: none;
cursor: pointer;
}
/* Style the upload form */
form {
display: inline-block;
margin-bottom: 20px;
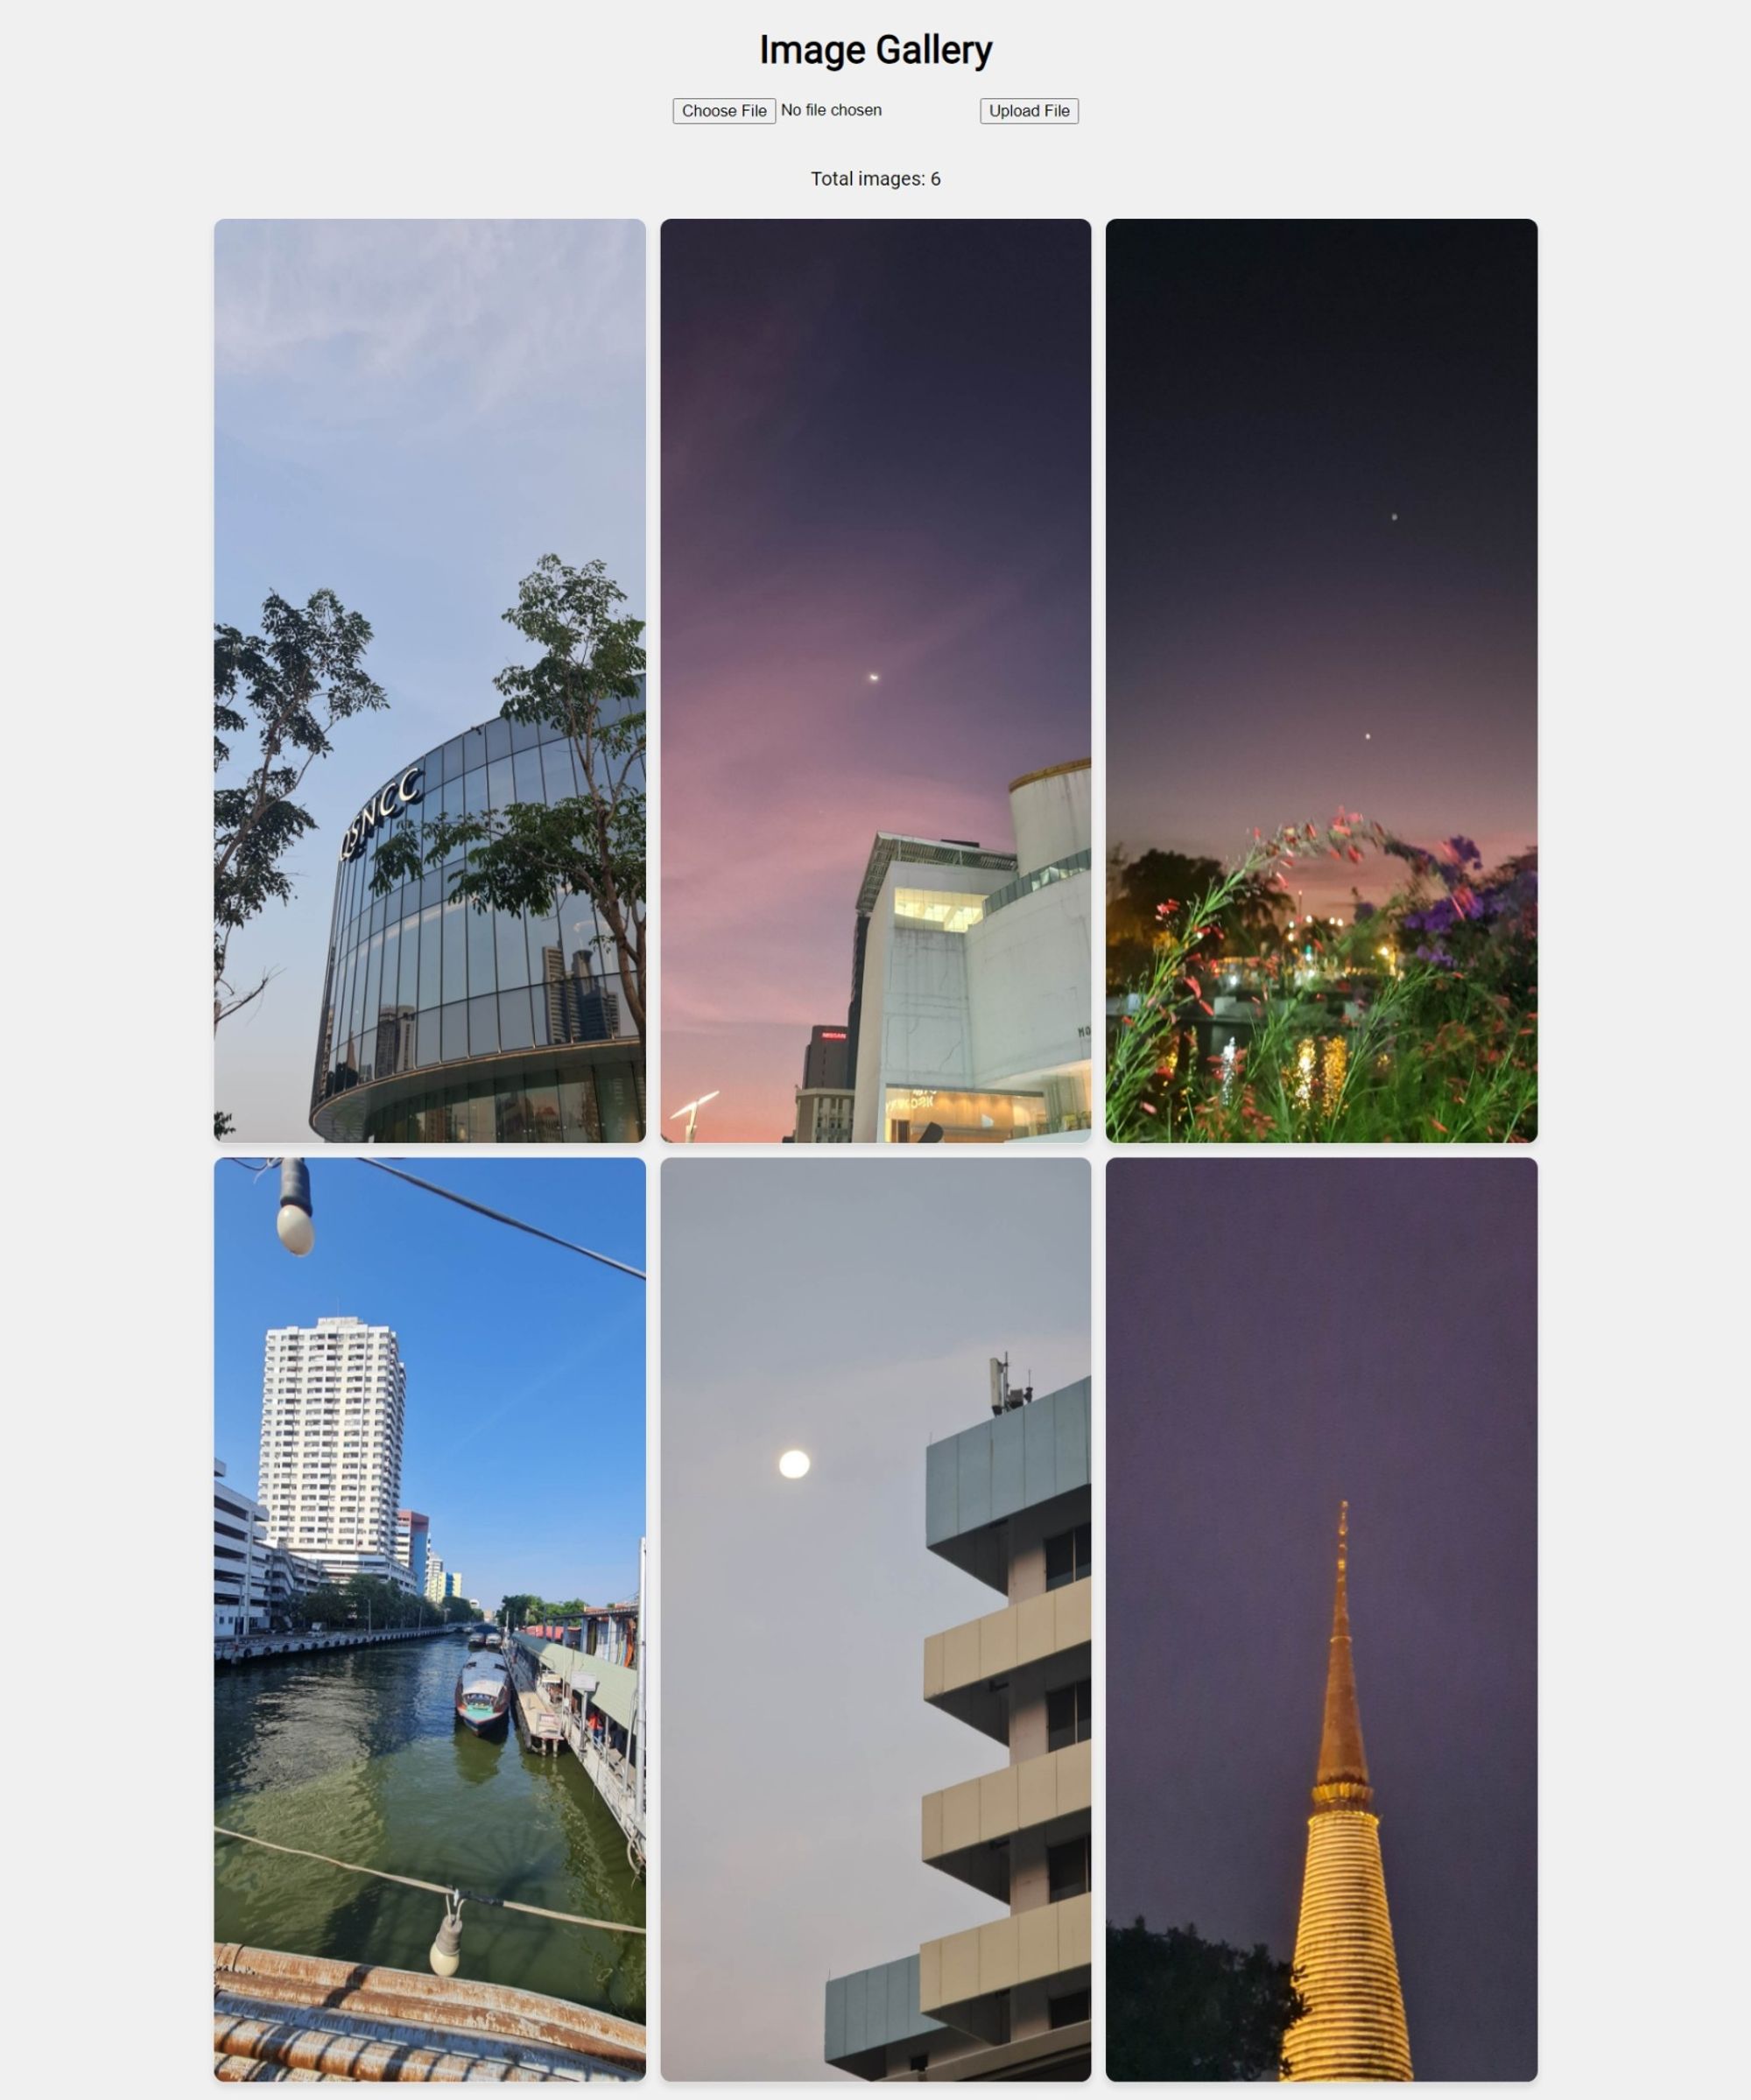
}หลังจากนั้นกดอีกครั้งทำการรันโปรแกรมอีกครั้งด้วยคำสั่ง flask run และอัปโหลดรูปขึ้นไปก็จะมีหน้าของเว็บแบบนี้
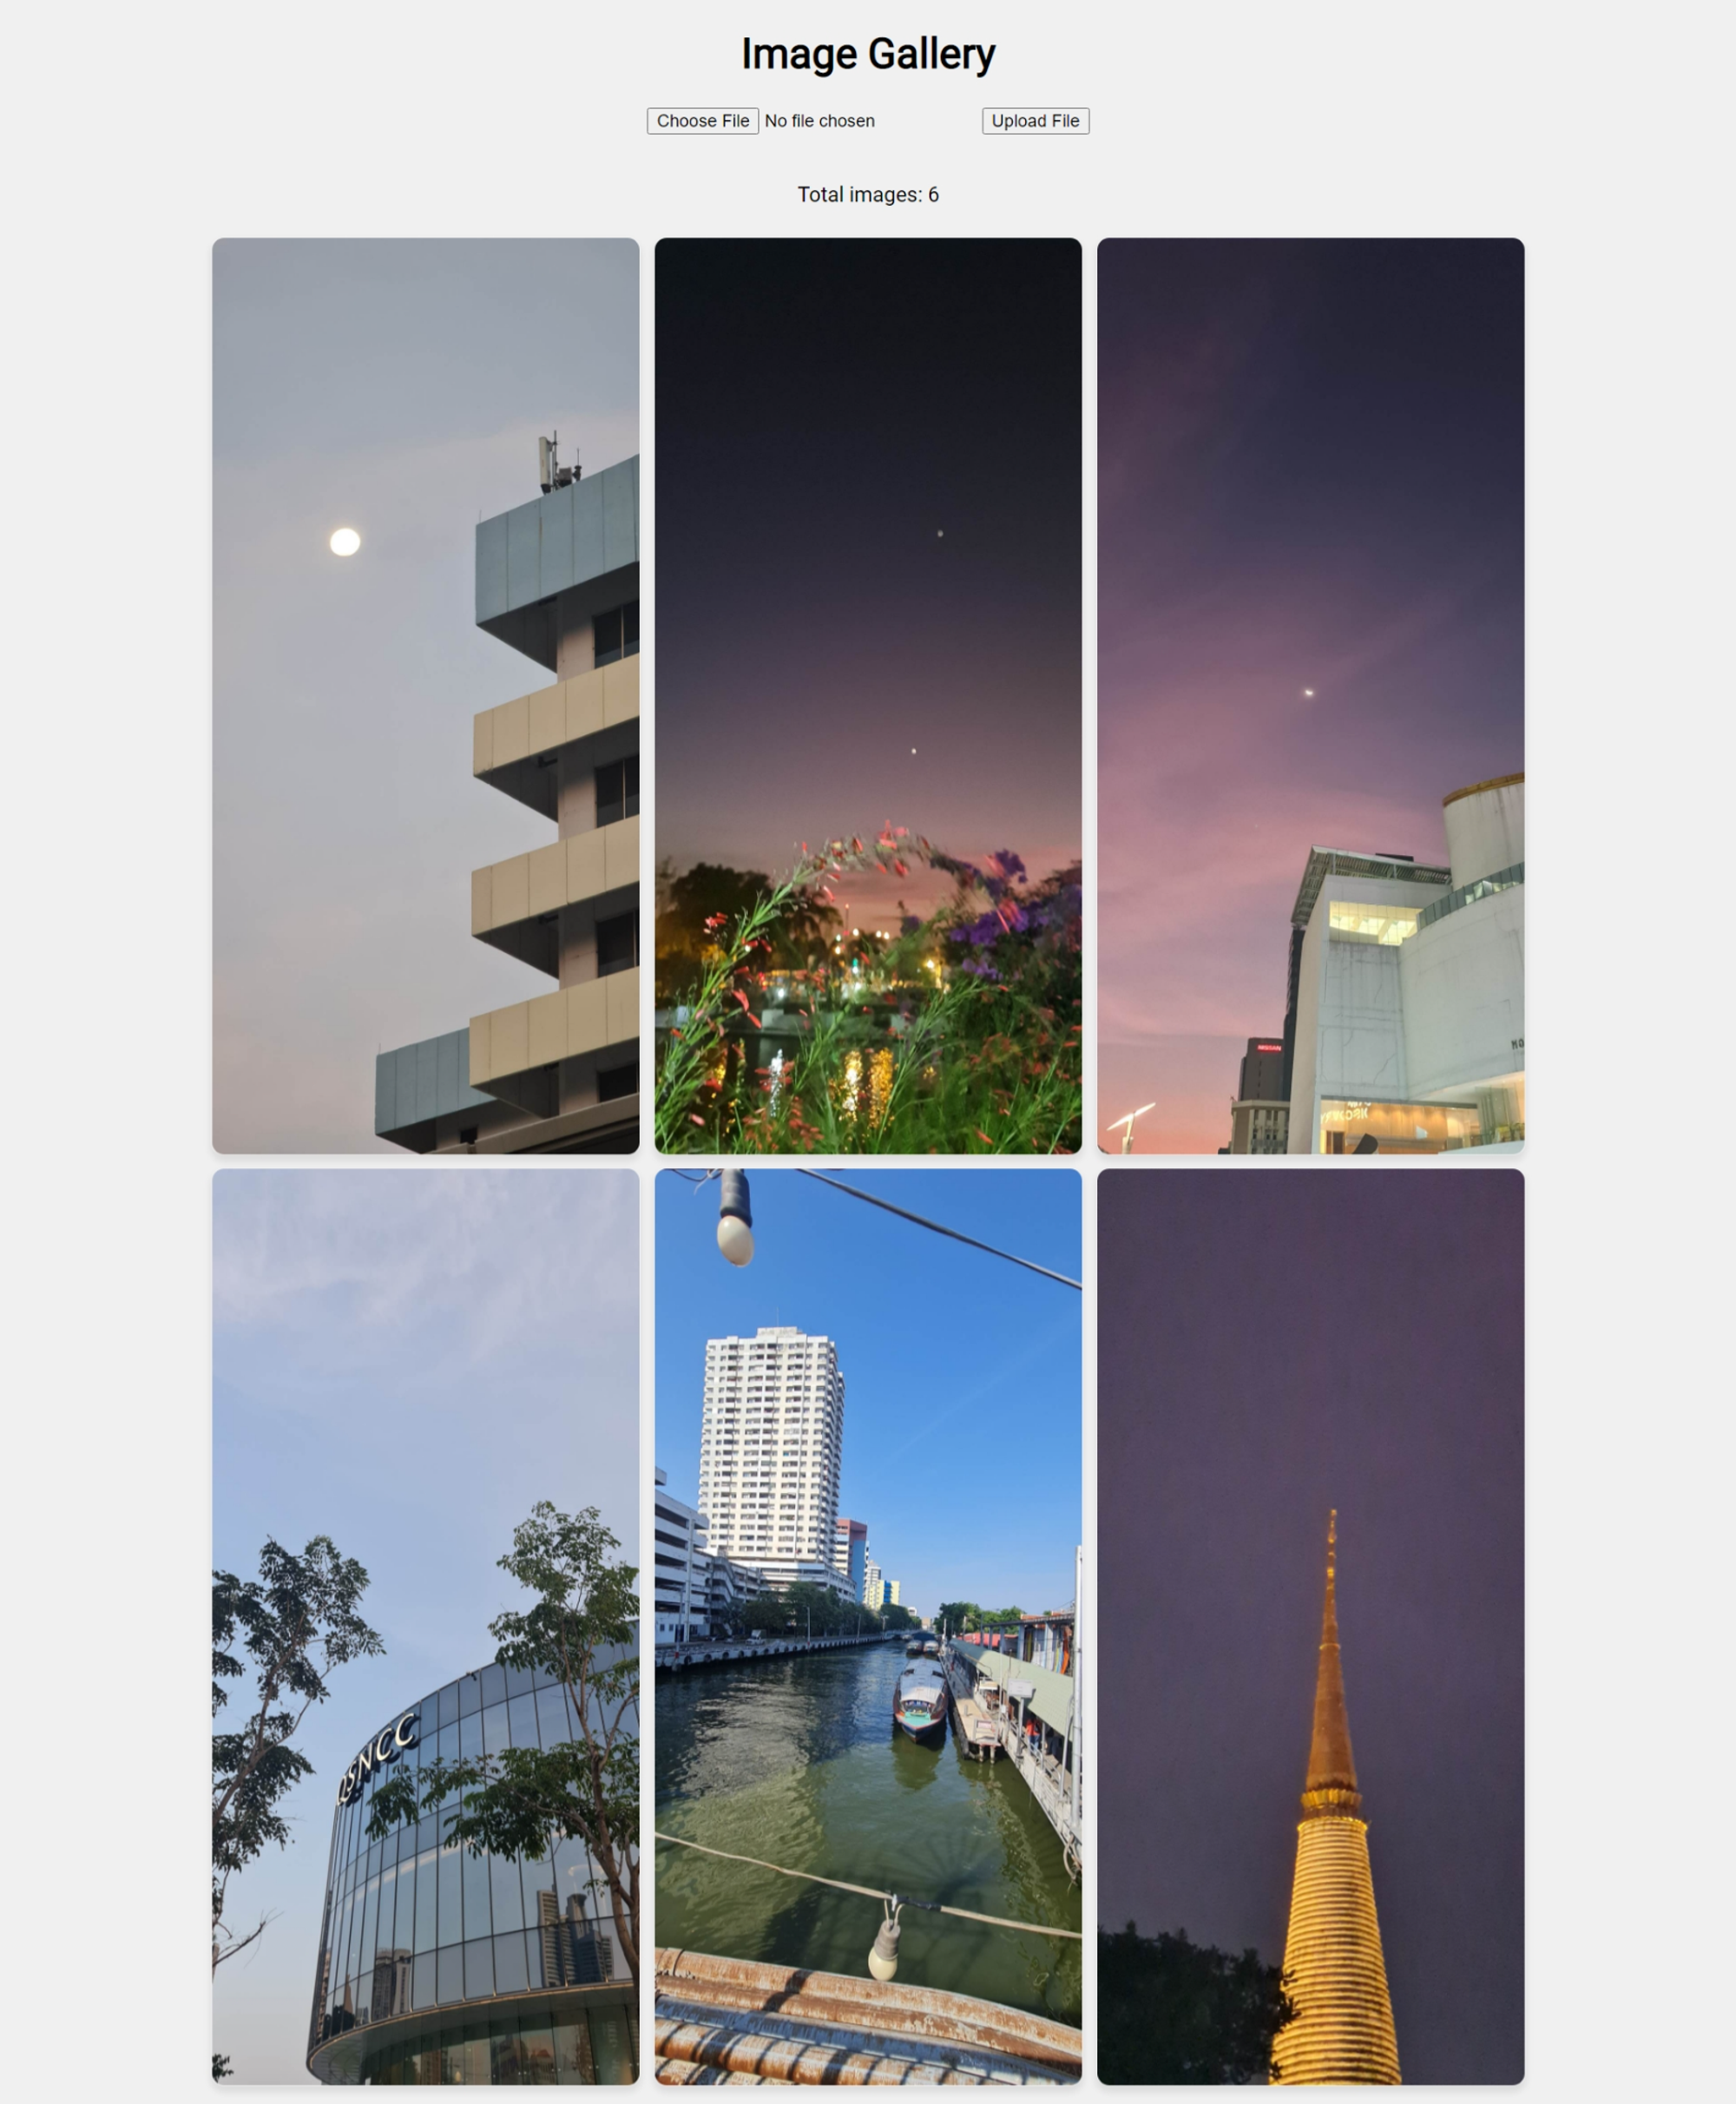
หากใครอยากลองเอาโปรเจกต์นี้ไปปรับแต่งหรือลองใช้งานก็สามารถมาโคลนที่ Github Repo นี้ได้เลยครับ 😊 aeff60/Image-Gallery-Flask (github.com)
สำหรับรายละเอียดของ Library ที่ใช้ในโปรเจกต์นี้สามารถอ่านเพิ่มเติมได้ที่ลิงก์นี้นะครับ
Flask-Uploads: https://flask-uploads.readthedocs.io/en/latest/
Flask WTF: https://flask-wtf.readthedocs.io/en/1.0.x/

แนะนำสำหรับคุณ
สงวนลิขสิทธิ์ © 2565 - ข้อมูลและเนื้อหาทั้งหมด - บริษัท บอร์นทูเดฟ จำกัด